Configuration Overview
This tutorial is intended for administrators and Otilus managers. If you are a team member without permission to manage boards, this video will probably not concern you.
Using Otilus on your own? In that case, you are automatically a manager, since the person who creates the account becomes the default manager. We will see later how to assign additional managers. For now, you are in the right place to learn how to run Otilus efficiently.
The next videos are short but essential. They will help you configure the tool properly and become efficient from the very beginning.
The Otilus Configuration area
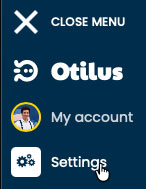
After logging in, the Configuration menu appears in the left sidebar on desktop, or in the main menu on mobile. It is visible only to managers and administrators. Regular members cannot access it.
This area centralizes all the settings of your Otilus organization.
Entering the Configuration area
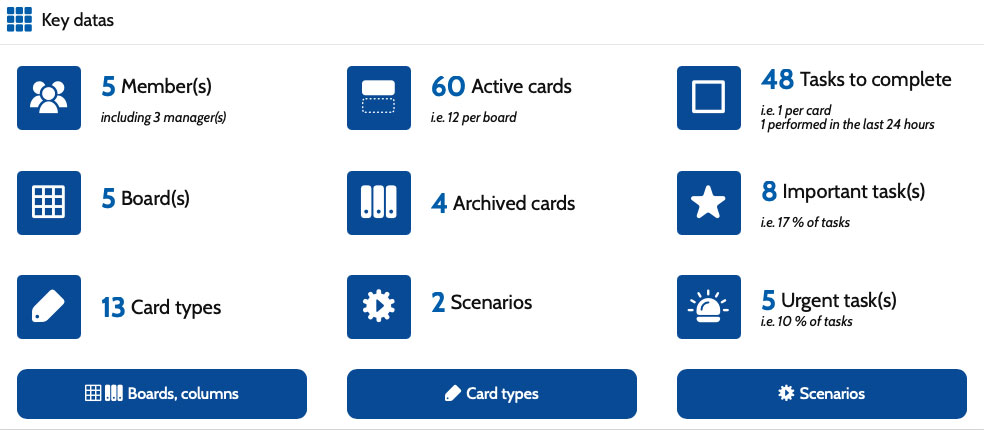
When you open Configuration, you immediately access the main indicators of your organization. The side menu lets you open each settings section. The Back to application button brings you back to your workspace.
Members datas
A dashboard lets you monitor your team activity at a glance:
- tasks completed in the last 24 hours,
- assigned cards,
- remaining tasks,
- last login.

Storage statistics
With the TEAM plan, you can store documents inside your cards. The storage gauge shows your used space in real time.

Below the gauge, Otilus displays the 8 largest stored files with their source card, name and size. You can download them, delete them, or open the related card directly by clicking the file name. The View all documents button opens the full file list.

Navigating the Configuration area
The Configuration interface follows a simple and consistent logic:
- the green + button adds a new item,
- each row represents one item,
- action buttons allow you to edit, delete or configure.


Sorting and searching items
Lists can be sorted by column or filtered using the search field. The Reset button instantly clears filters.

Saving changes
Each management panel always displays three buttons at the bottom:
- Save to store changes without leaving the screen.
- Save and return to list to validate and go back to the list.
- Cancel to exit without saving.

You are now ready for the first part of the manager tutorials, dedicated to managing boards and columns.