Manage boards
Welcome to the first section of the Configuration area in Otilus. Here, you will learn how to manage your boards and their columns: creation, modification, and organization.
Boards are the foundation of your organization in Otilus. They allow you to structure your projects according to your working methods.
Access board management
In the Configuration area, click on the “Boards” menu.
When you first log in to Otilus, a board is automatically created based on the professional profile you selected.
You can of course modify this board. However, it cannot be deleted immediately: at least one board must always exist.
If you wish to delete it, simply start by creating a new board.
Create a new board
To create a board, follow these steps:
- Click on “Add board”.
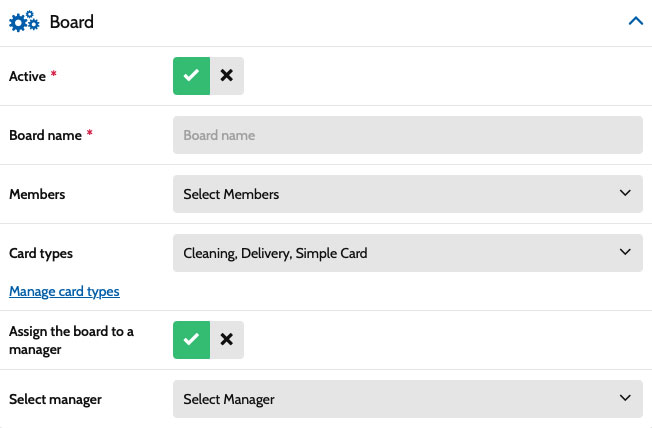
A form will open. The first parameter indicates whether the board is active.
- Active board: visible to users.
Inactive board: hidden in the application but still accessible in the Configuration area.
Leave the board active and give it a clear name corresponding to the type of projects it will contain.
Choose a board template (optional)
When creating a board, you can use a template.
The “Default” template offers a simple structure suitable for most projects.
Other templates may be available depending on your activity:
- Human resources
- Construction / Building
- Law / Legal
- etc.
These templates automatically generate:
- columns adapted to the profession
- more relevant card types
Don’t worry: everything remains editable. The template simply provides a smart starting point.
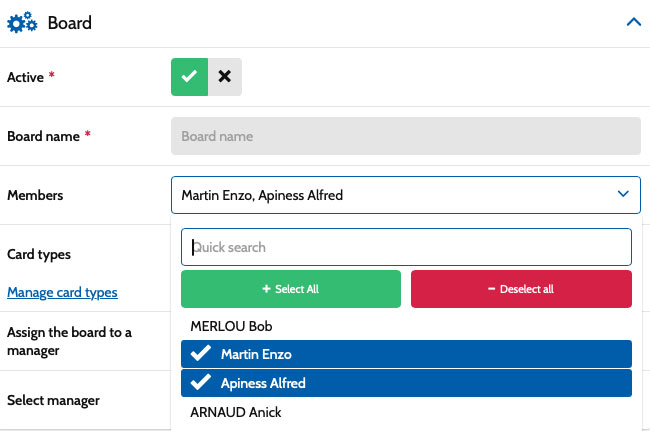
Member assignment
You can then choose the team members who will have access to this board.
As a manager, you are automatically attached to all boards.
If you have just created your account, no members will be available yet. User management will be explained in a later section.
If your team has already been created, simply select members from the list. The search bar allows you to find them quickly.
Select card types
Final step: choose the card types available in this board.
Card types allow you to visually differentiate your projects and also serve as the basis for triggering automations.
Several types are already available by default.
You will also be able to:
- modify them
- delete them
- or create new ones
All of this is managed in the “Card types” menu, which we will explore in the next section.
Once your types are selected, click “Save and return to list”.
✔ Your board is now created.
Edit columns
When a board is created, default columns appear depending on the selected template.
You can of course adapt them to your organization.
To do this, go back to Configuration → Boards.
On the board line, three actions are available:
- Edit: modify the board settings
- Delete: delete the board
- Columns: manage the board stages

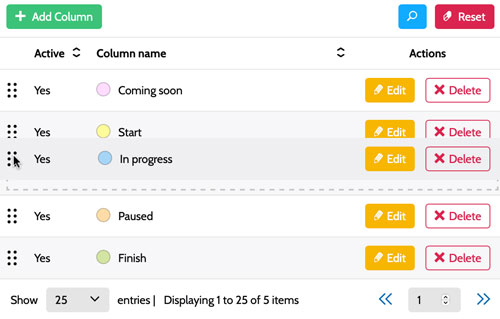
Click “Columns” to display the list of existing columns.
You can then:
- modify the name
- change the color
- or add new columns
Use the “+ Add column” button to create a new step in your workflow.
Reorder columns
The order of columns can be changed very easily.
Use the move icon (the dots on the left of the row) and simply drag the column to the desired position.
Result in the application
Once your columns are configured, return to the application to see your board in action.